How to Clean a Saxophone


How to clean a Saxophone
Follow these steps to clean the inside of your instrument after your saxophone lessons and after every time you play.
1. Swab the neck and mouthpiece


Remove the neck by loosening the neck screw, and grab the neck close to the body of the horn. Rotate side to side and pull up until the neck comes loose. Using the smaller neck swab, guide the weight or string through the larger opening, and out the smaller opening. Pull the swab through, and repeat until the inside of the neck is dry.
You may keep the mouthpiece on the neck and swab as one piece, or separate the parts and swab them separately. If done separately, swab the mouthpiece through the shank (circular opening) and out the window. (long opening)
2. Swab the body


Guide the weight of your saxophone swab through the bell of the instrument.
With both hands, carefully pick up the saxophone and use gravity to guide the weight out of the other side. Grab the string, put the saxophone in your lap and gently pull through the body of the sax. 2 to 3 passes is usually enough.
3. Dry the pads


Using a pad dryer dry off every pad on your sax. On the open keys, place the spit sponge underneath the pad, and close the pad while pulling the spit sponge out. For closed keys, open the key by fingering the note you want to clean, slide the sponge underneath the pad, allow the key to close, and gently pull the sponge through. Do this systematically so that you don't miss anything. Start with the your high F or F-sharp if you have it, and moving lower one by one, check all sides of the saxophone body, and then finish with the pads at the end of the bell. Don't forget the pad on the neck!
4. Use Key Props


Using Key Leaves, prop open Your C-Sharp key by fixing the prop under the key arm. Be careful not to rest the key leaves on the pad leather. Using the other end, prop open your E-Flat key. Now these keys can air-dry without getting stuck to the tone hole chimney, and without rotting or growing mold. Using Key Leaves prevents a sticky G-sharp key, which is an issue that causes a G-natural to sound when fingering a G-sharp.
5. Insert the end plug


Place the end plug back into the neck tenon to prevent damage to the octave key mechanism.
6. Put the saxophone back in the case


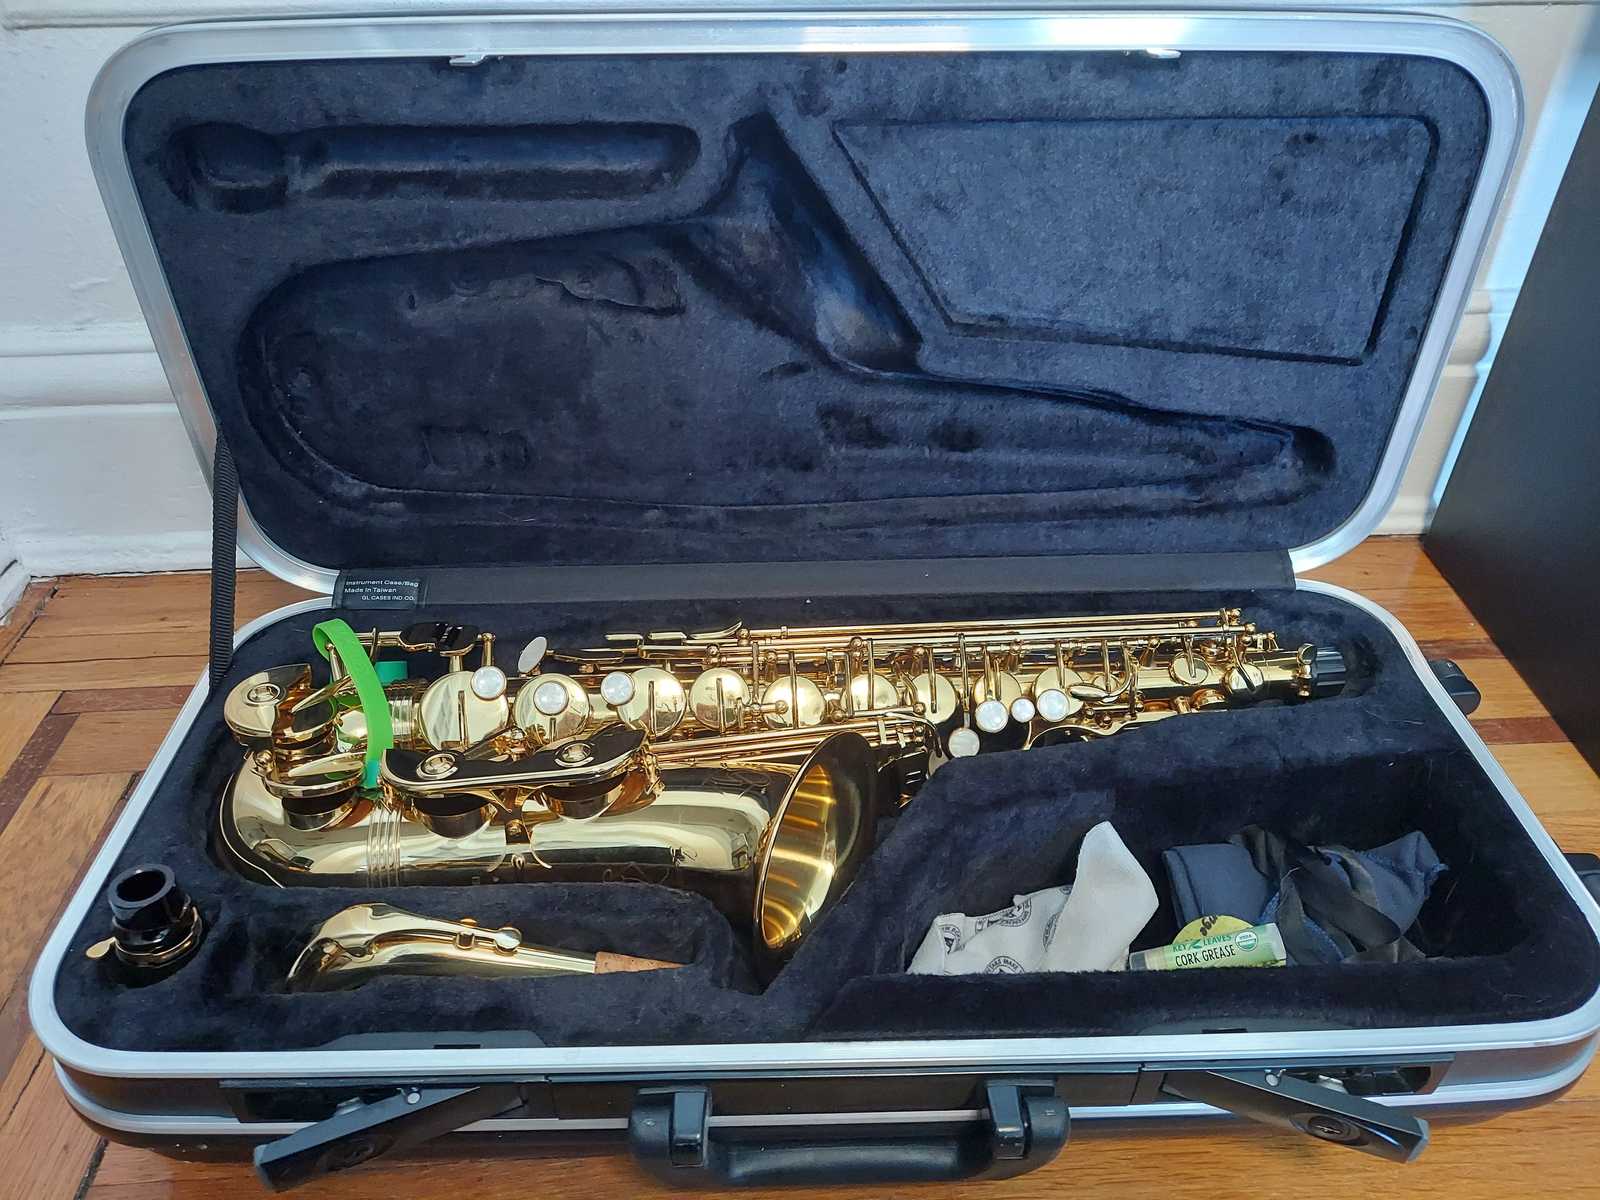
There's no better way to keep the sax clean than by preventing dust build-up. Put the horn in the case every time you are done to keep your instrument squeaky-clean. Note how the body, neck, and mouthpiece all have their own compartments within the case, and there is a separate compartment for accessories. Never leave any accessories on top of the saxophone.
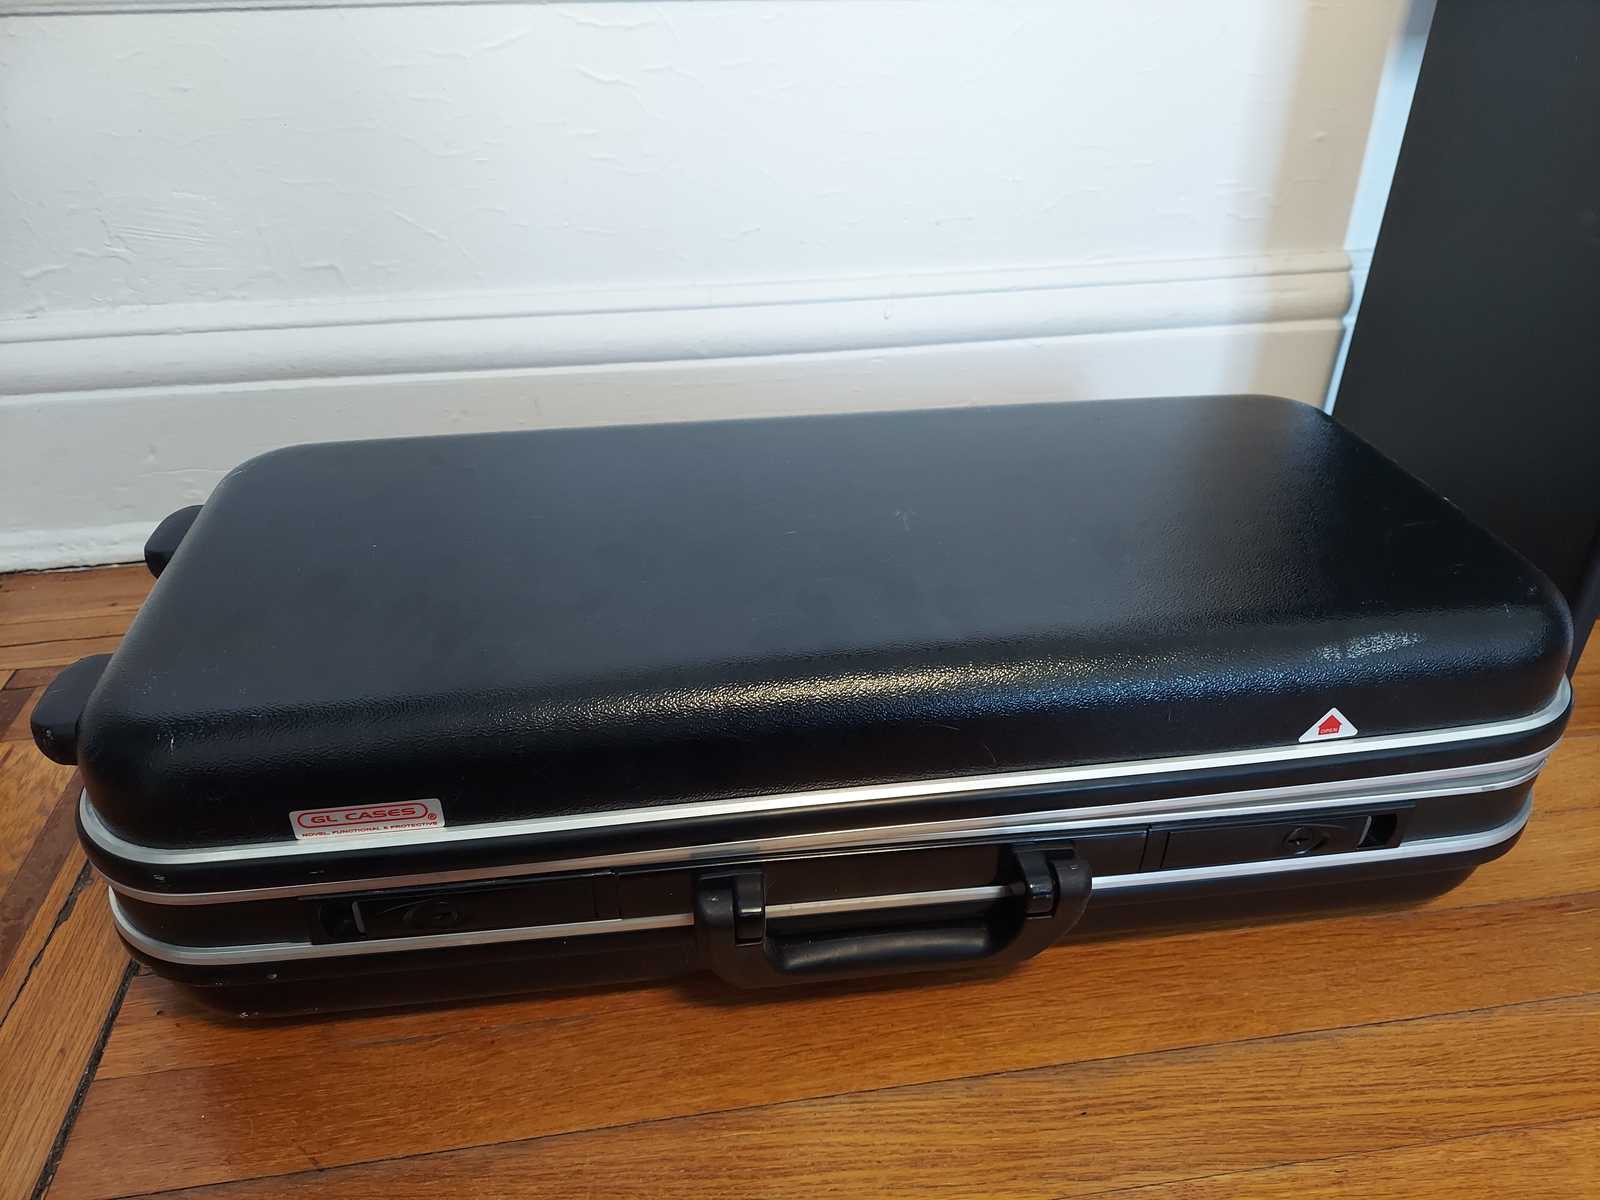
Also, always latch your case closed! We don't want you to pick up the case to have the sax fall out and get damaged.
7. Clean your cleaners
At least once a month, your should gently wash your neck and mouthpiece swab, your body swab, and your spit sponge. Wash lightly by hand with a small amount of soap and allow to air-dry.
8. Soak the mouthpiece

Calcium deposits accumulate over time on your mouthpiece. The more that accumulates, the more it begins to affect your playing.
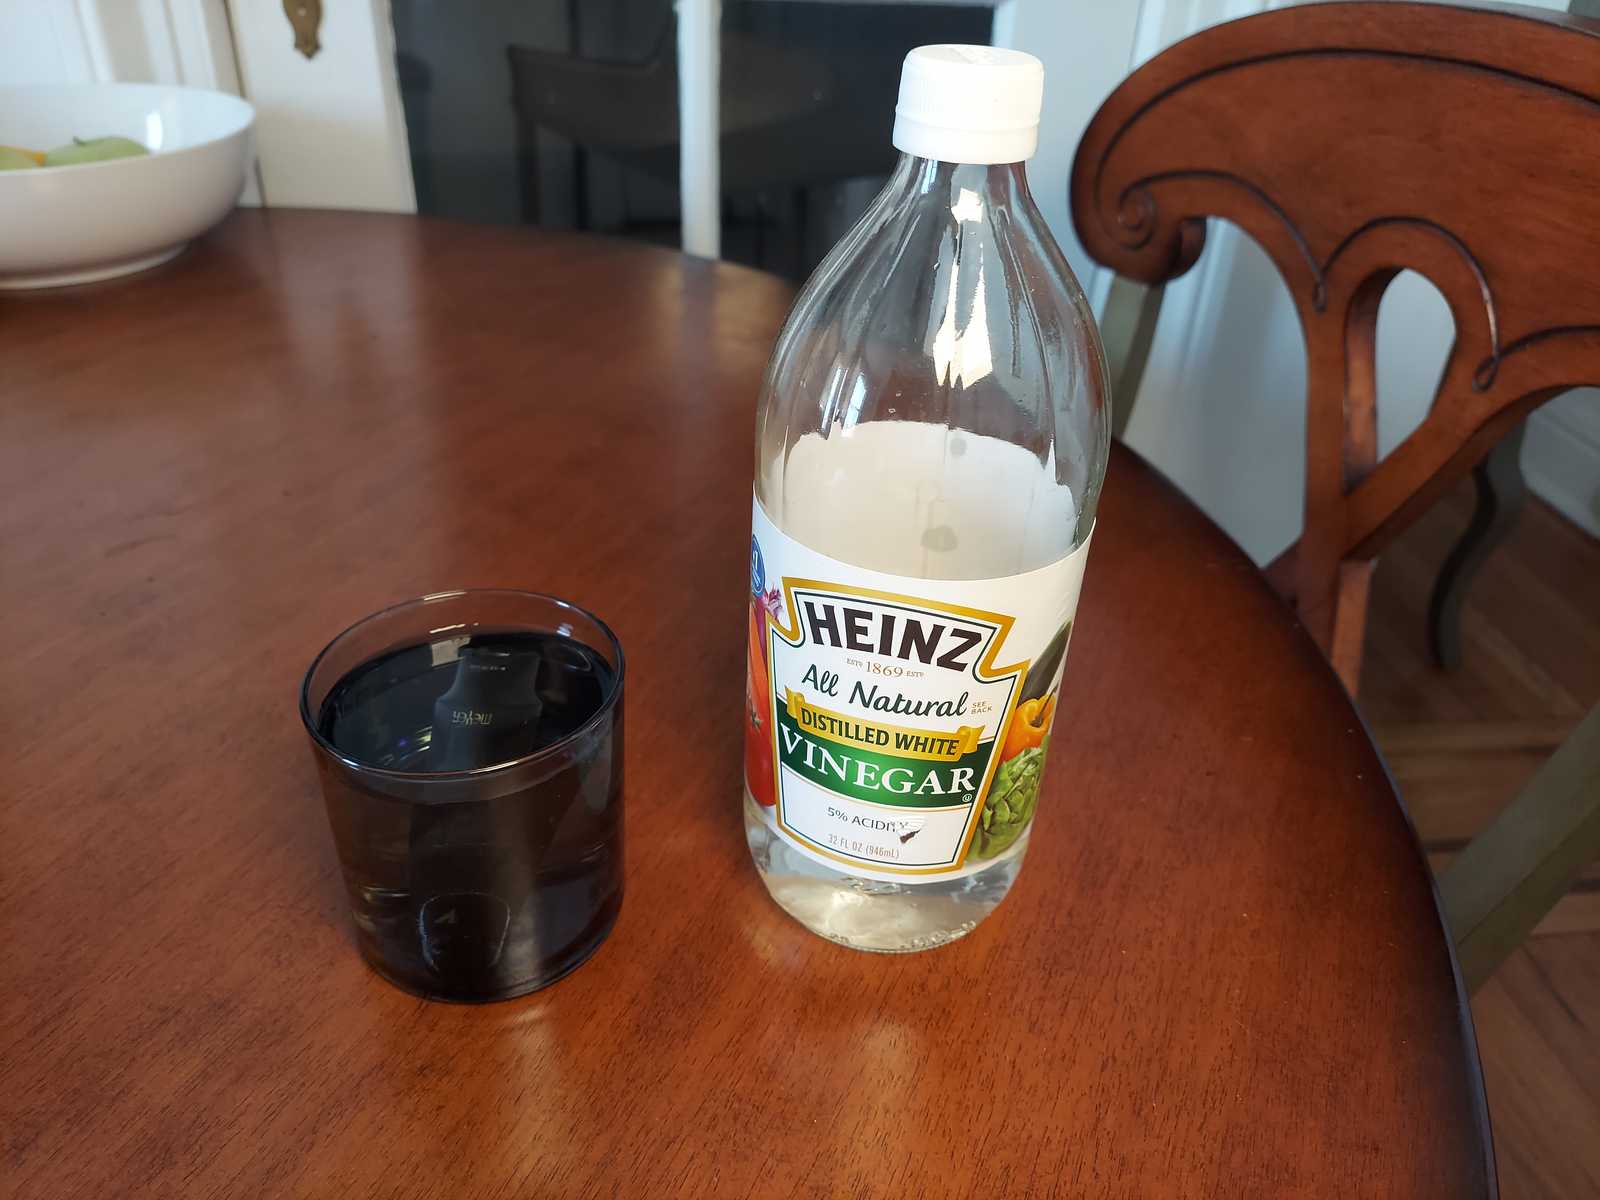
About once a month, you should soak your mouthpiece in a vinegar solution.
In a small vessel, add one part cool water to one part white vinegar. Soak the mouthpiece for 5 minutes.
Rinse with cool water and wipe down the interior with your mouthpiece/neck swab.
Dry the exterior with a microfiber cloth, or pat-dry with a soft, clean towel.
Related


Daniel

