How to Put a Saxophone Together
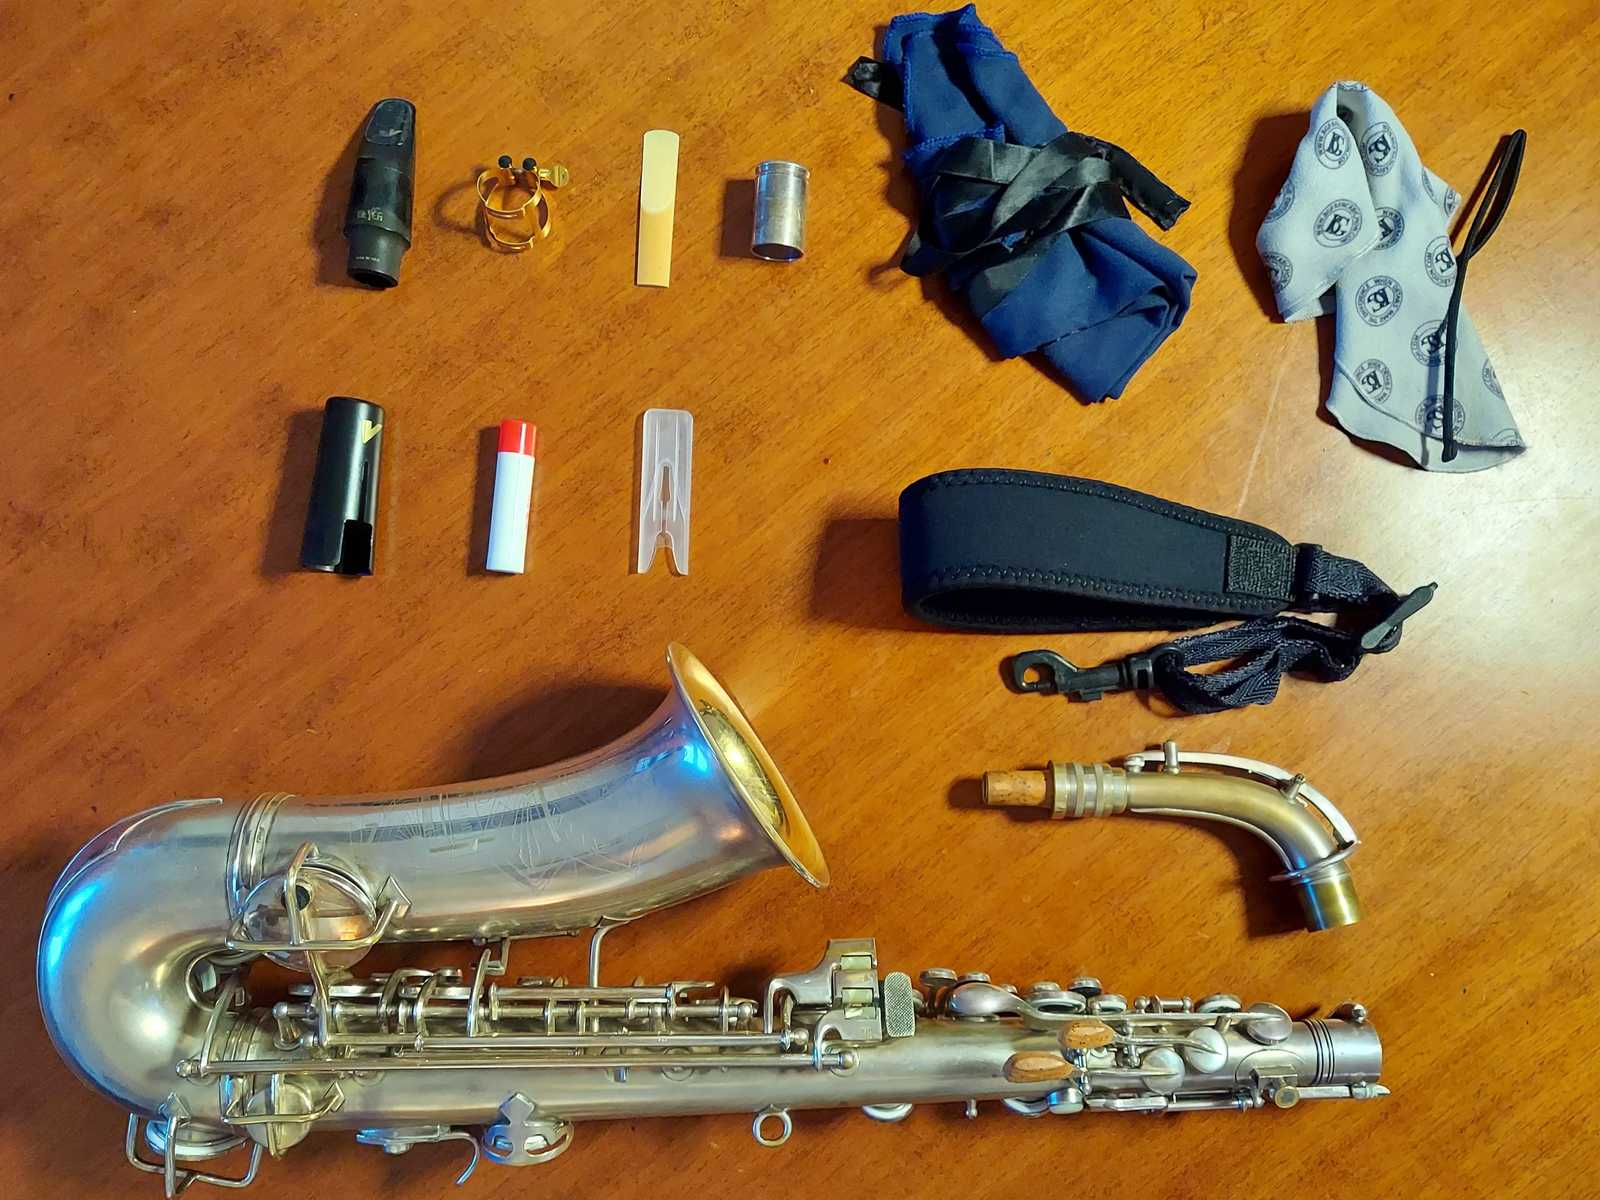

You are a beginning saxophone player. Most likely you’re using a school instrument in your saxophone lessons that is now your responsibility to take care of, or maybe you just invested in a new instrument and spent a lot of hard-earned money. Or... you're a saxophone veteran and you've had a massive memory lapse! Either way we know that you don’t want to damage your instrument. In this how-to you’ll learn the best way to put together a saxophone without fear, so that you can get to playing music right away.
How to Put a Saxophone Together
Follow these steps in this order every time.
- image
- alto sax
- alt
- fully assembled silver conn new wonder 2 alto sax
- caption
- cite
- link
- no_follow
- False
- new_tab
- True
1. Put on the neck strap
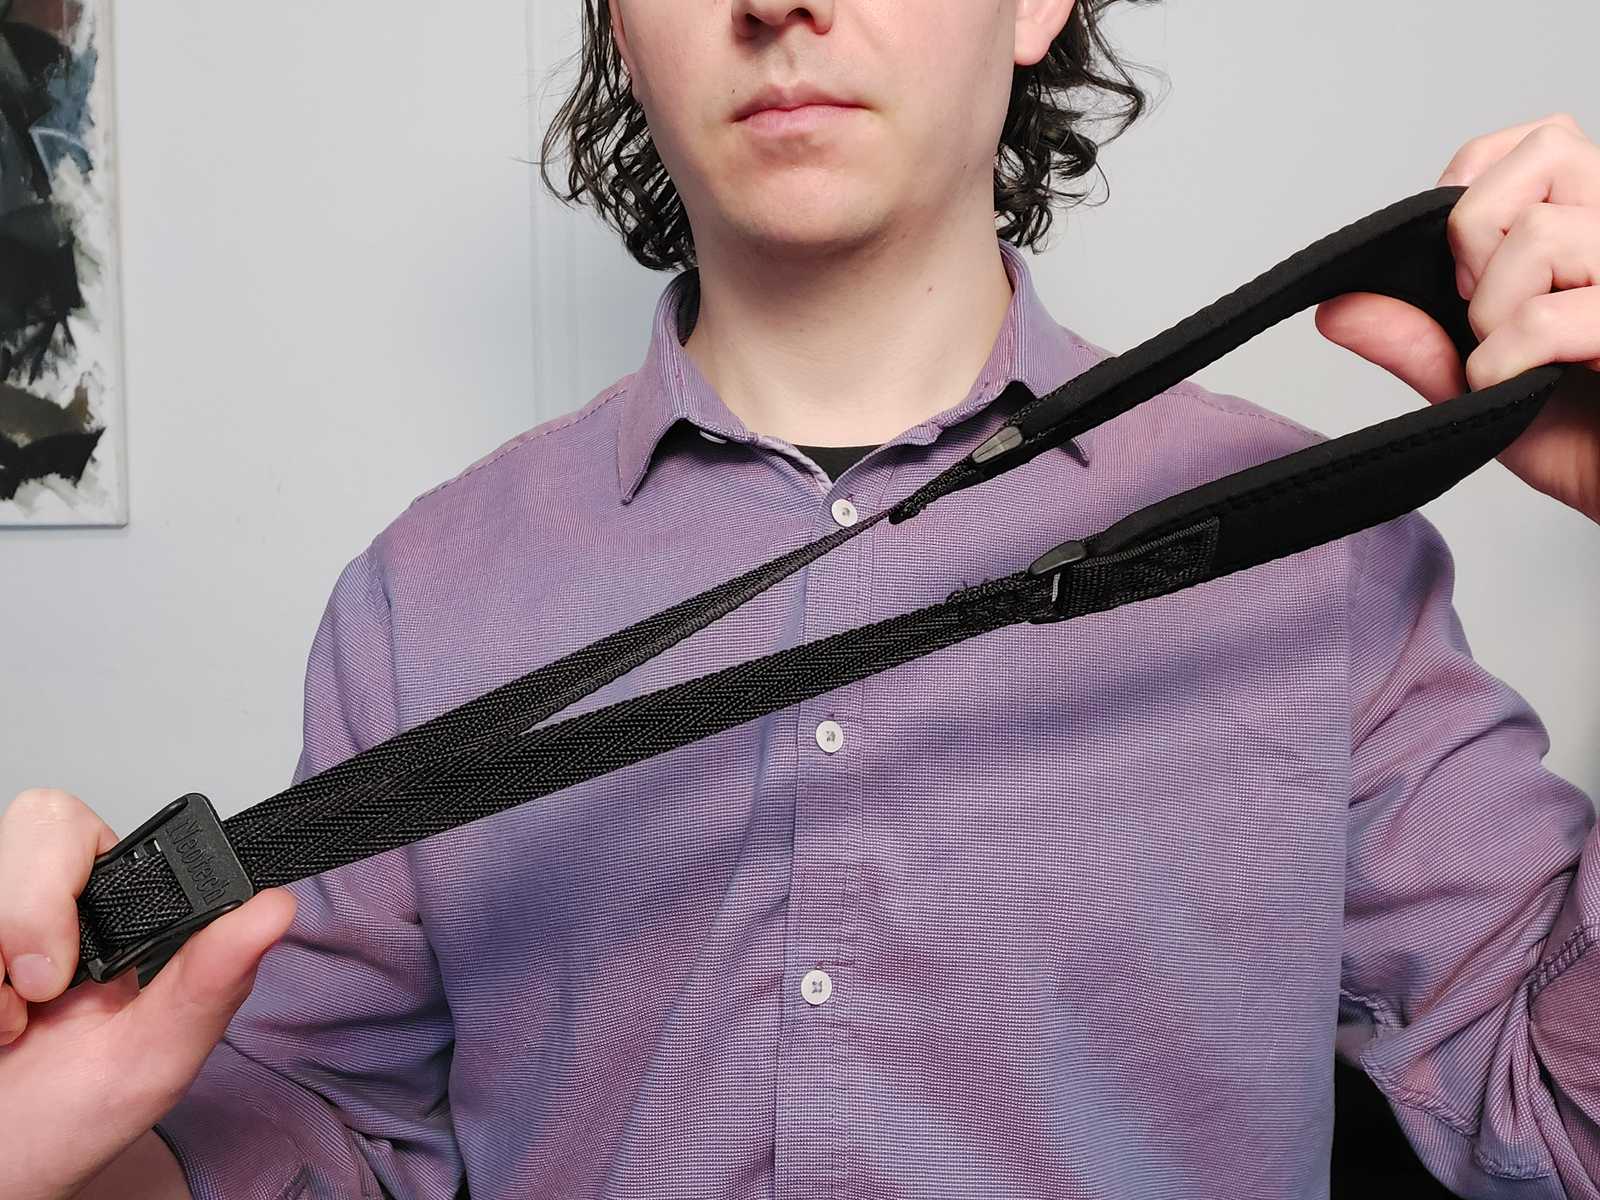

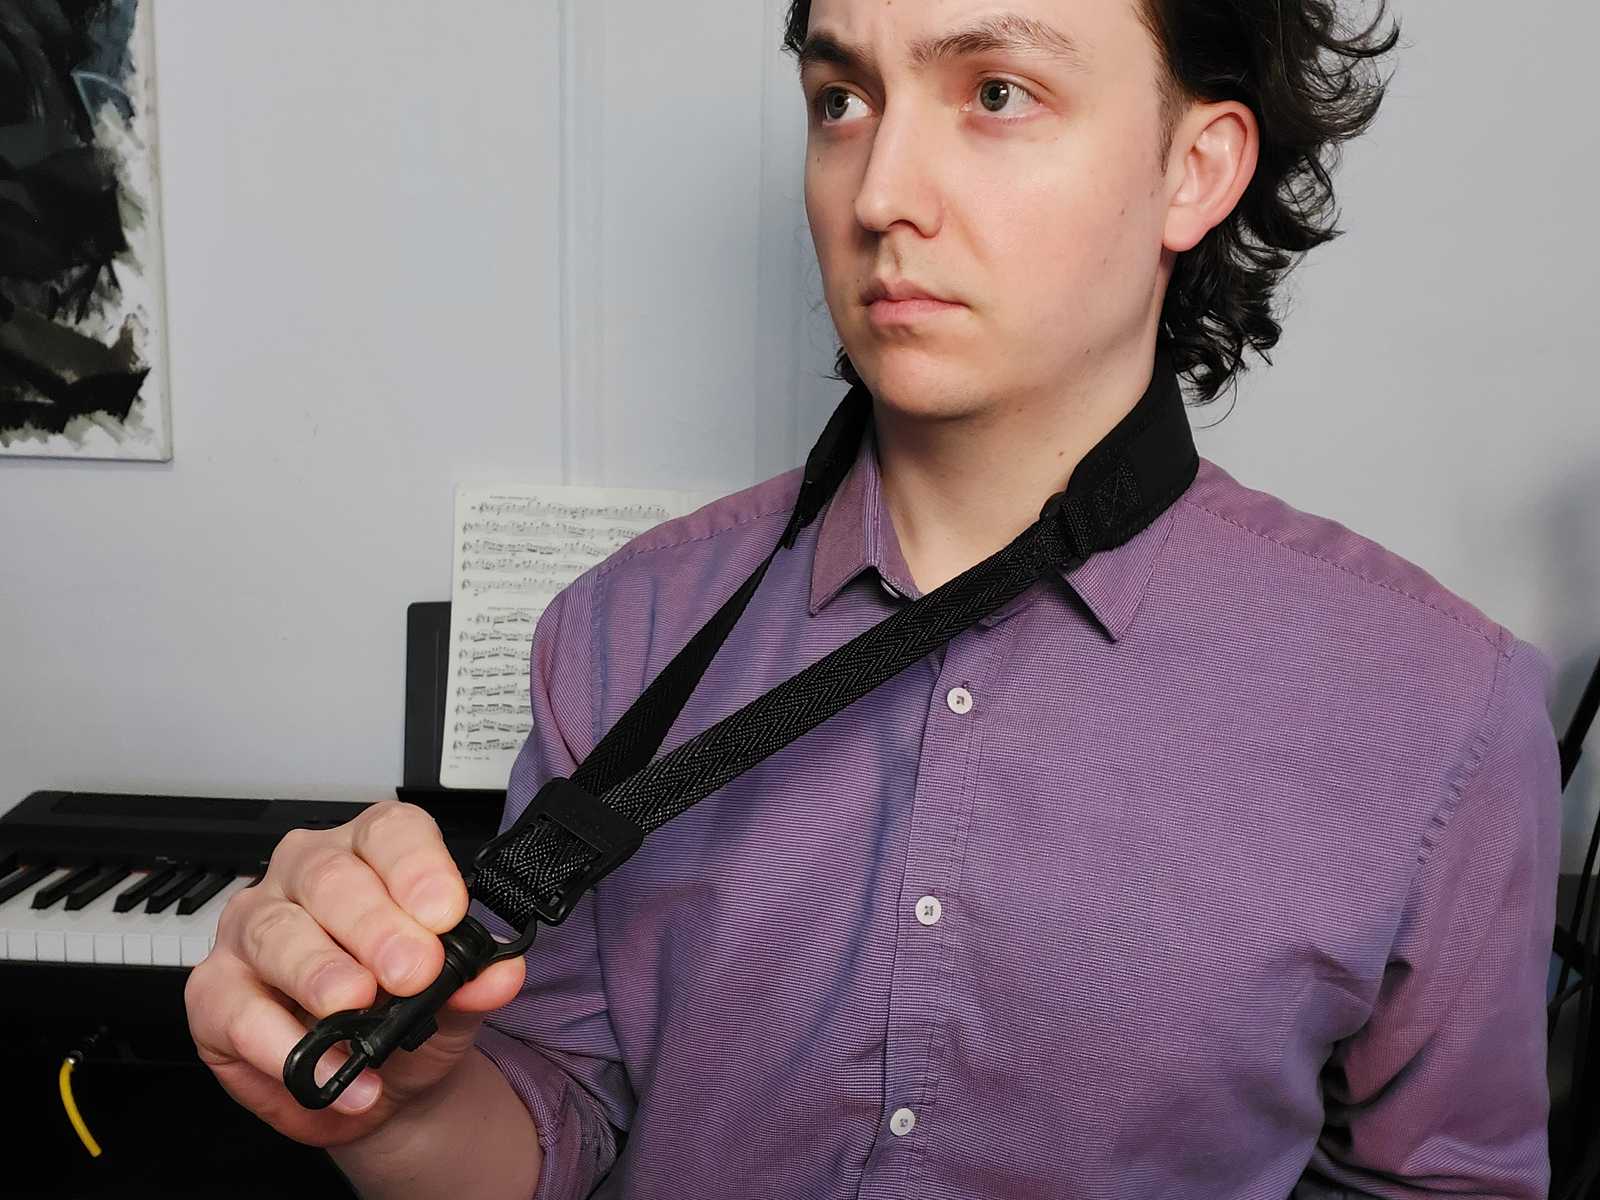
Slide the fastener of your neck strap down to the hook to allow for plenty of room for your head. Then, put the strap over your head, with the front side of the fastener facing forward.
2. Attach the mouthpiece to the neck
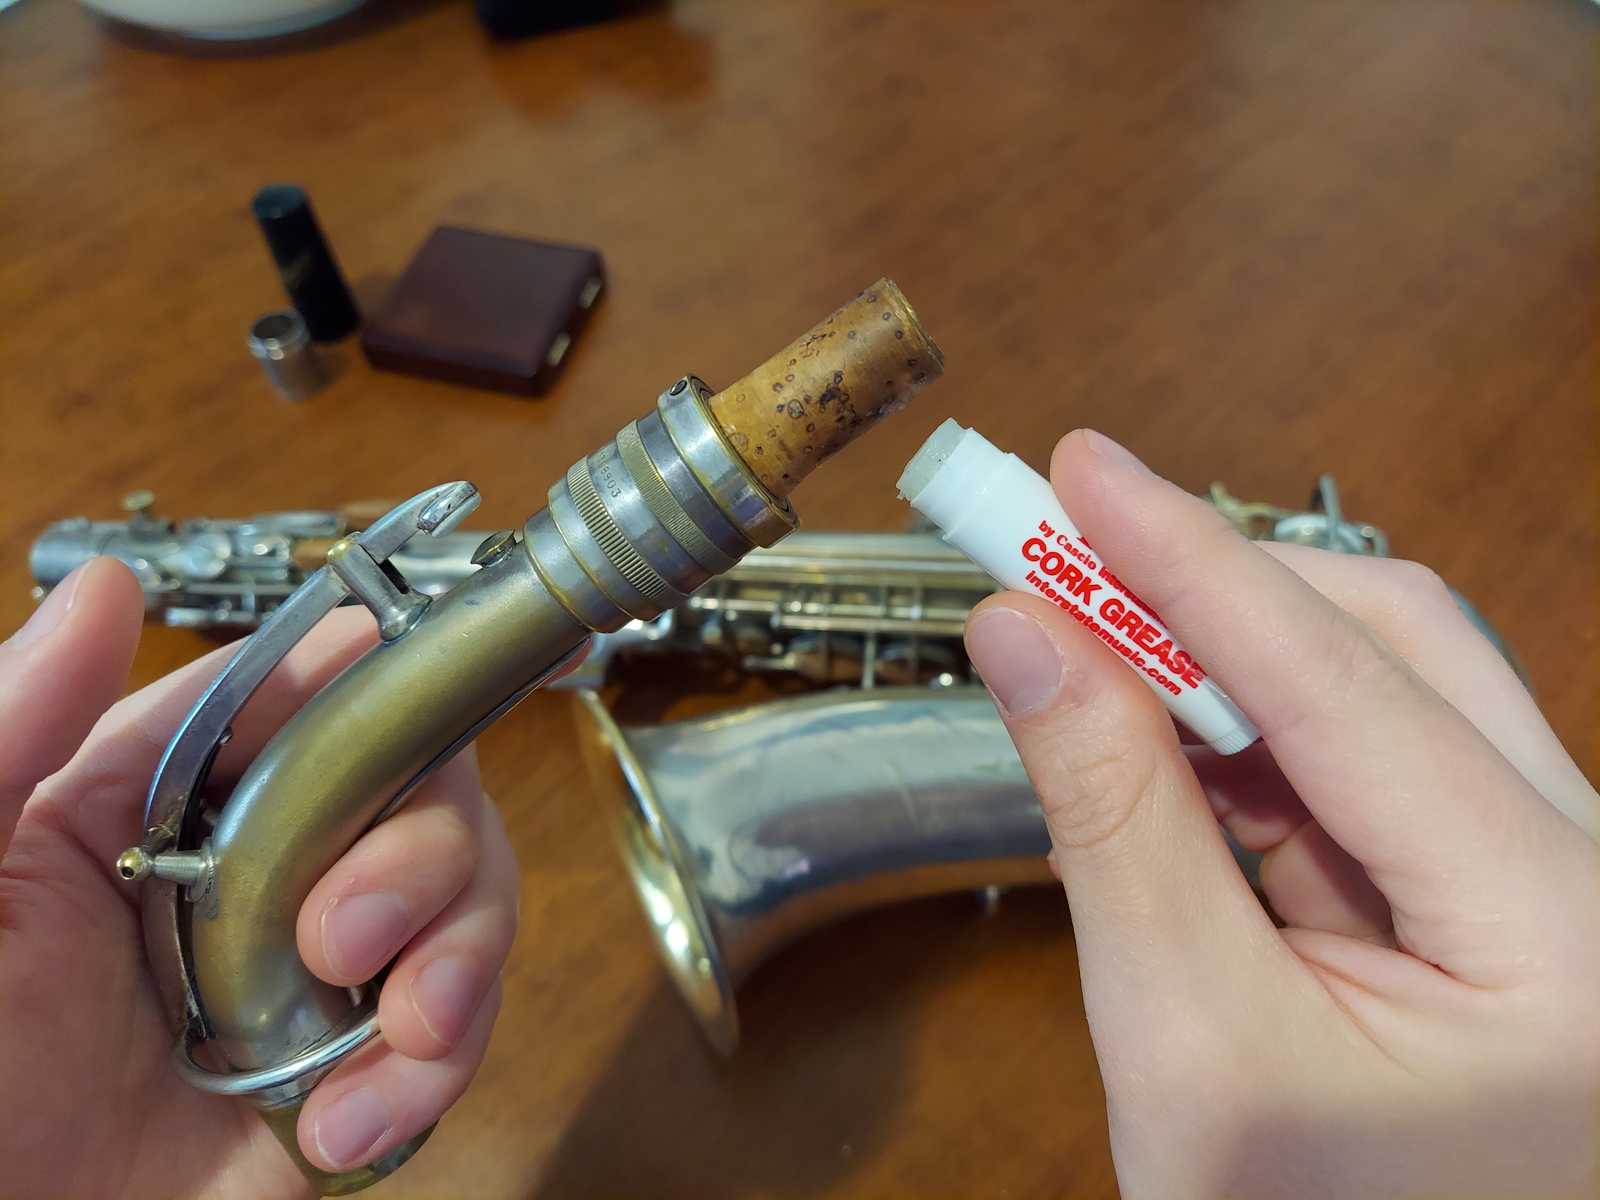
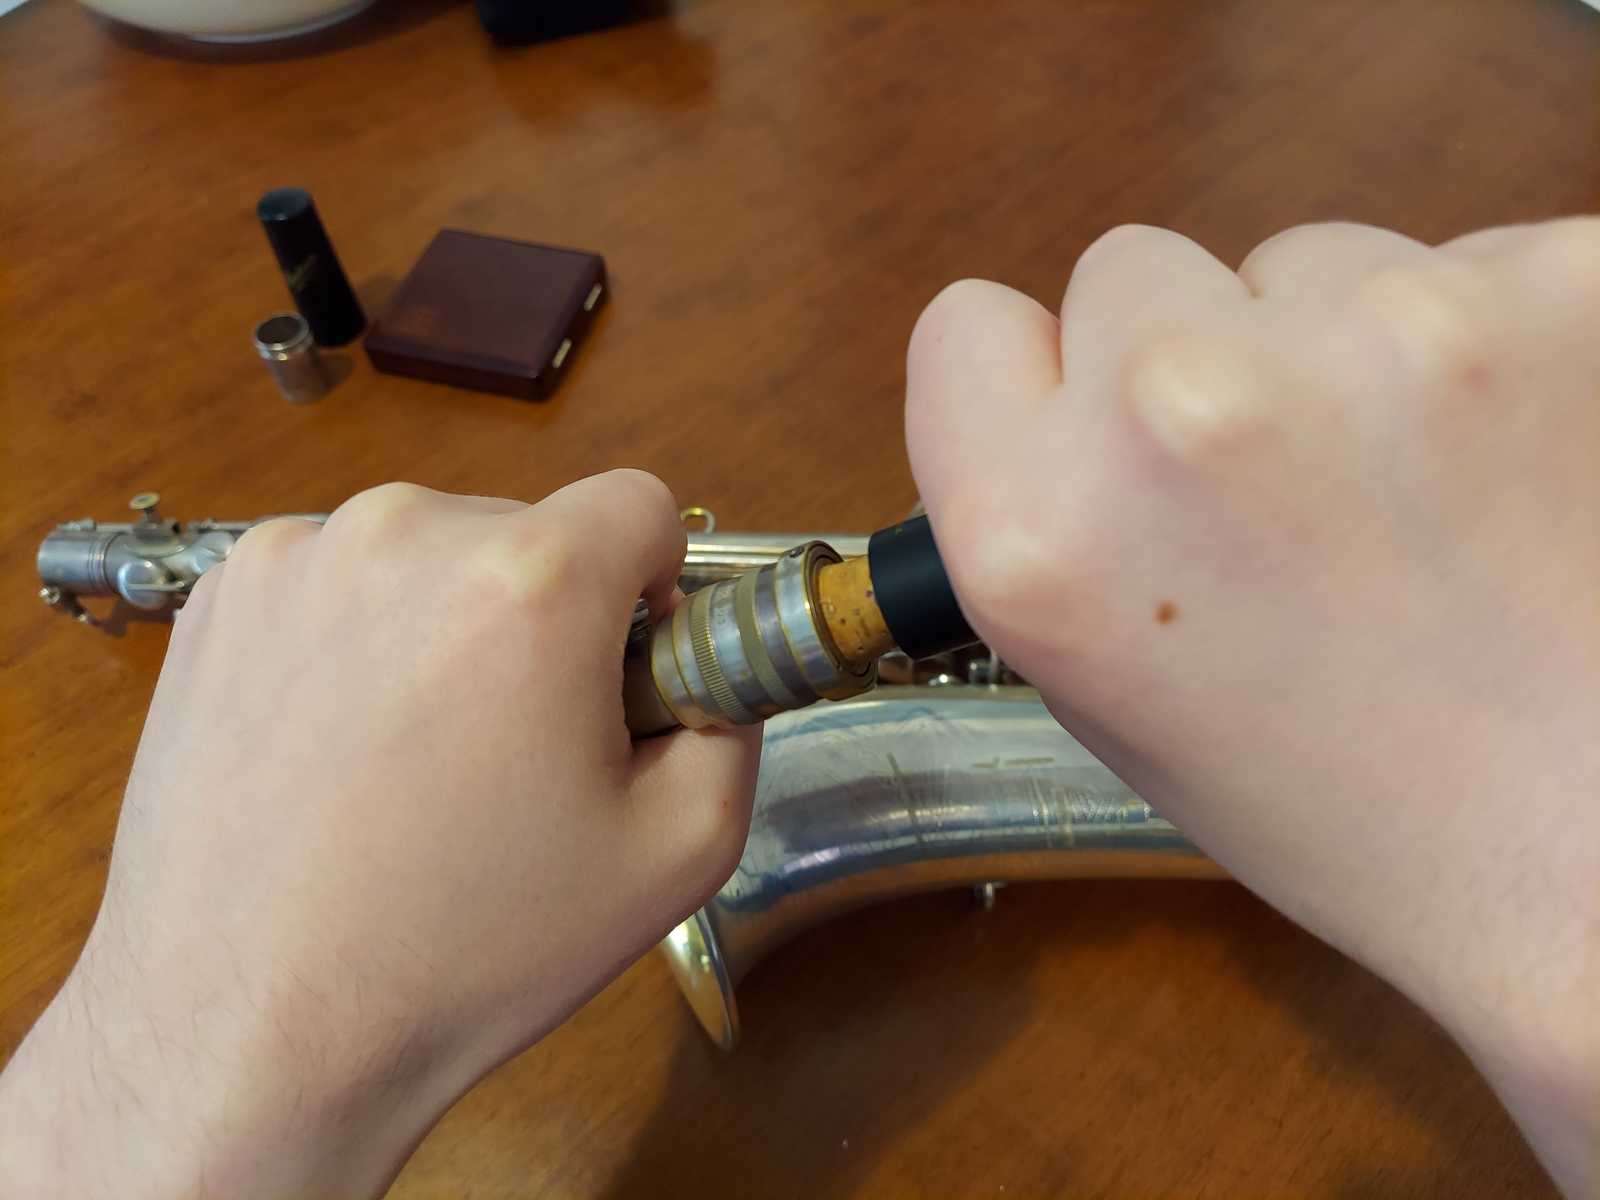
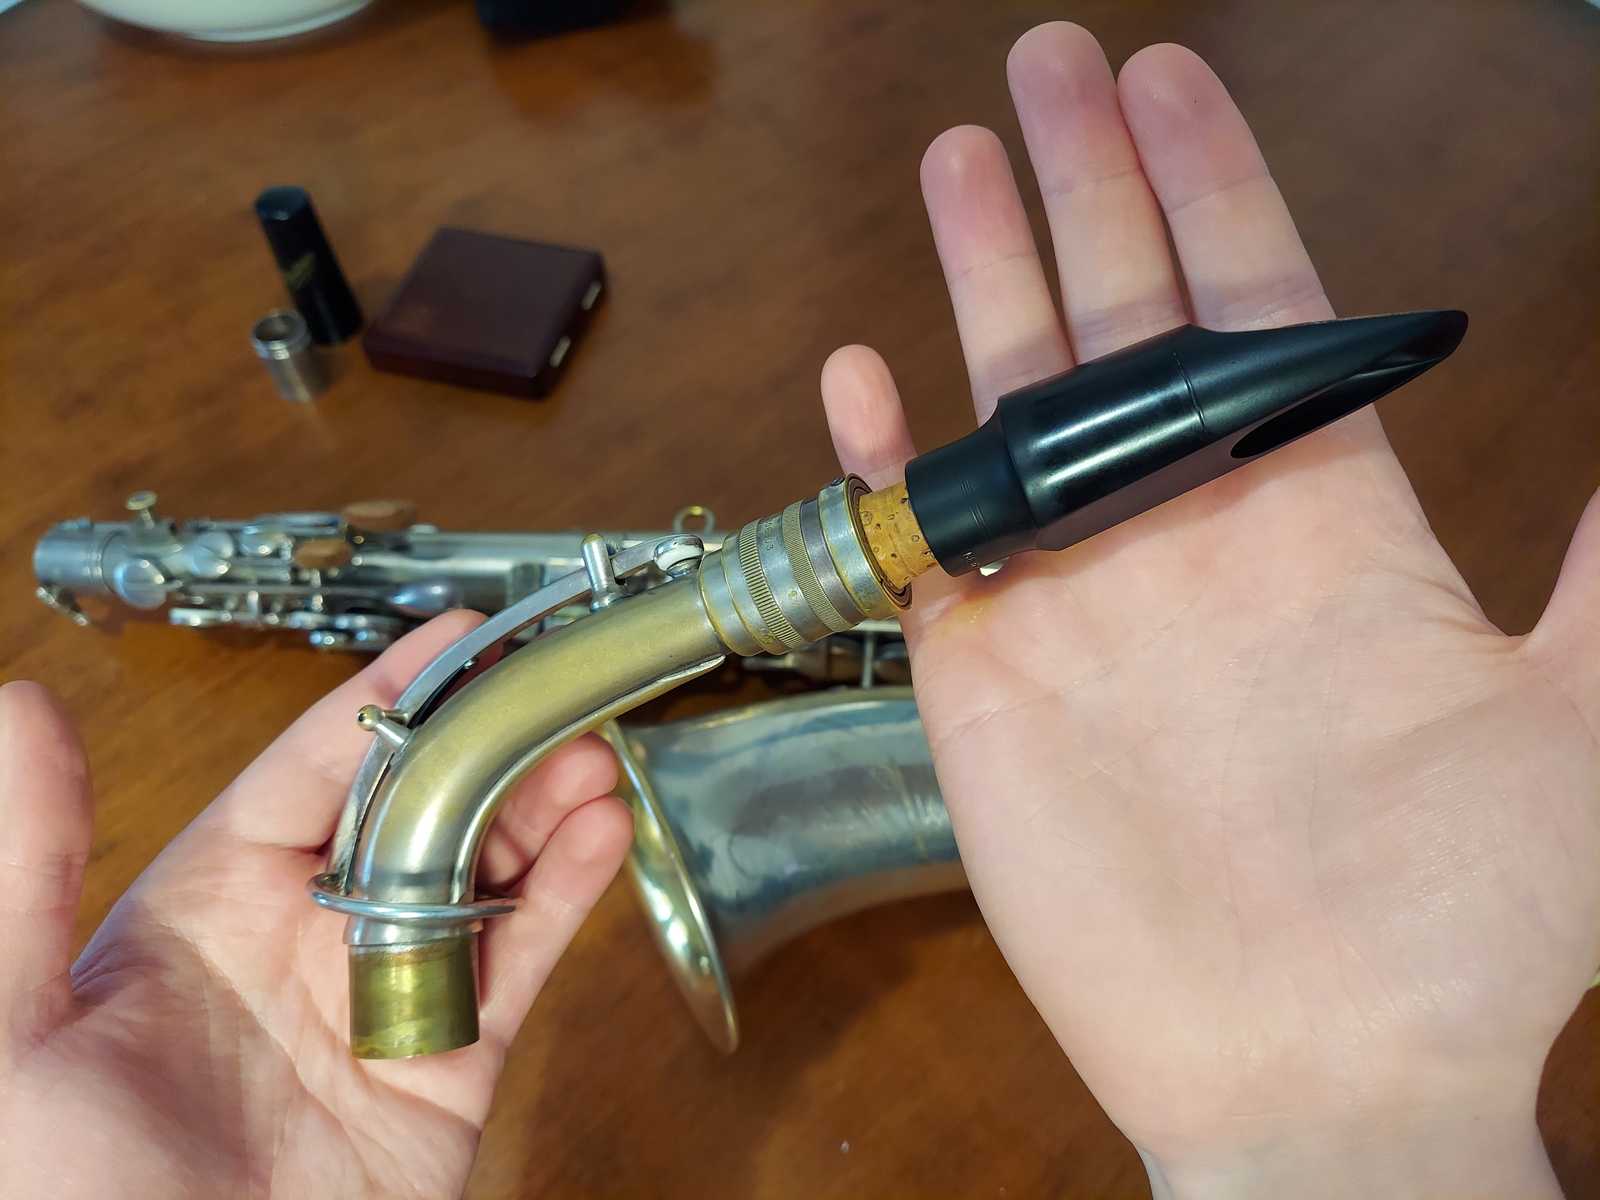
Put a small amount of cork grease on the cork. With the neck in one hand, and the mouthpiece in the other, gently twist back and forth until the mouthpiece is secure. Align the window of the mouthpiece with the opening of the neck. You may also have the mouthpiece rotated to roughly 5 o'clock.
3. Attach the ligature to the mouthpiece
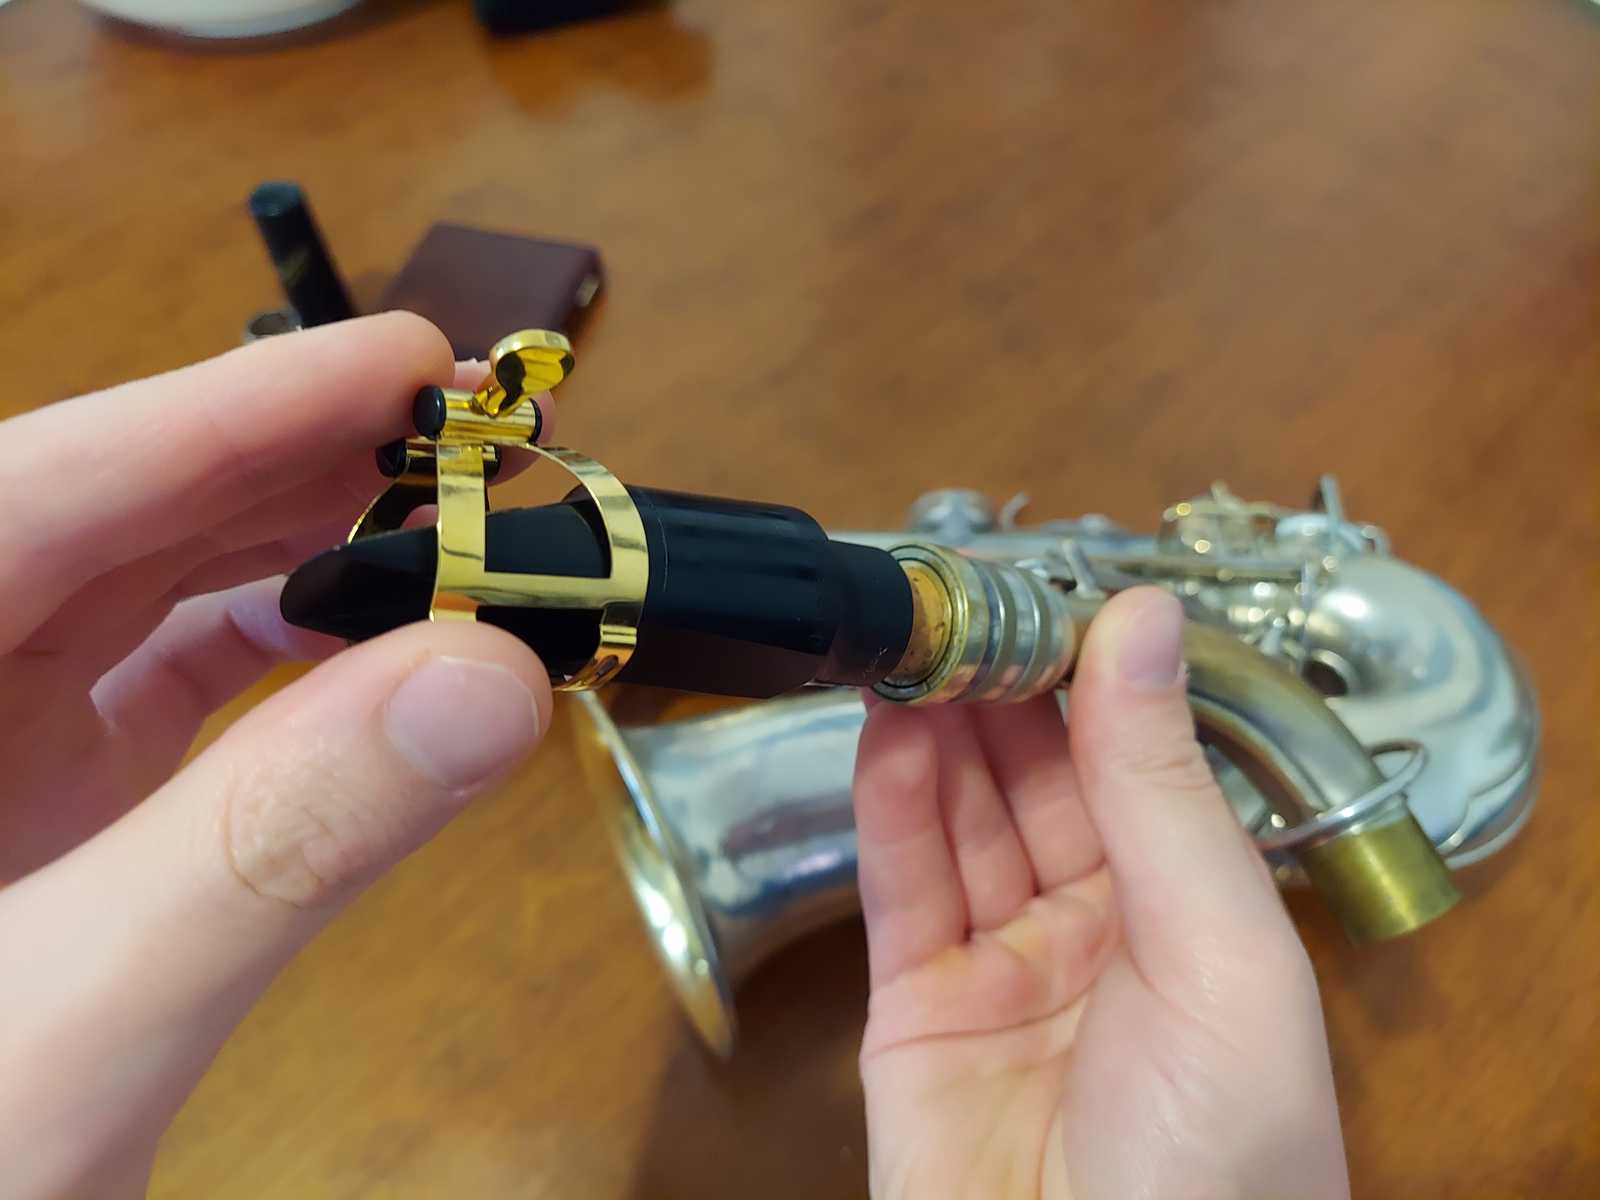
Wide-end first, slide the ligature on to the mouthpiece. The saxophone in these photos uses an inverted ligature, so the screw goes on top. Standard ligatures have screws on the bottom. In both cases, ligatures should be oriented with the screw tabs pointed to the player's right.
4. Slide the reed under the ligature
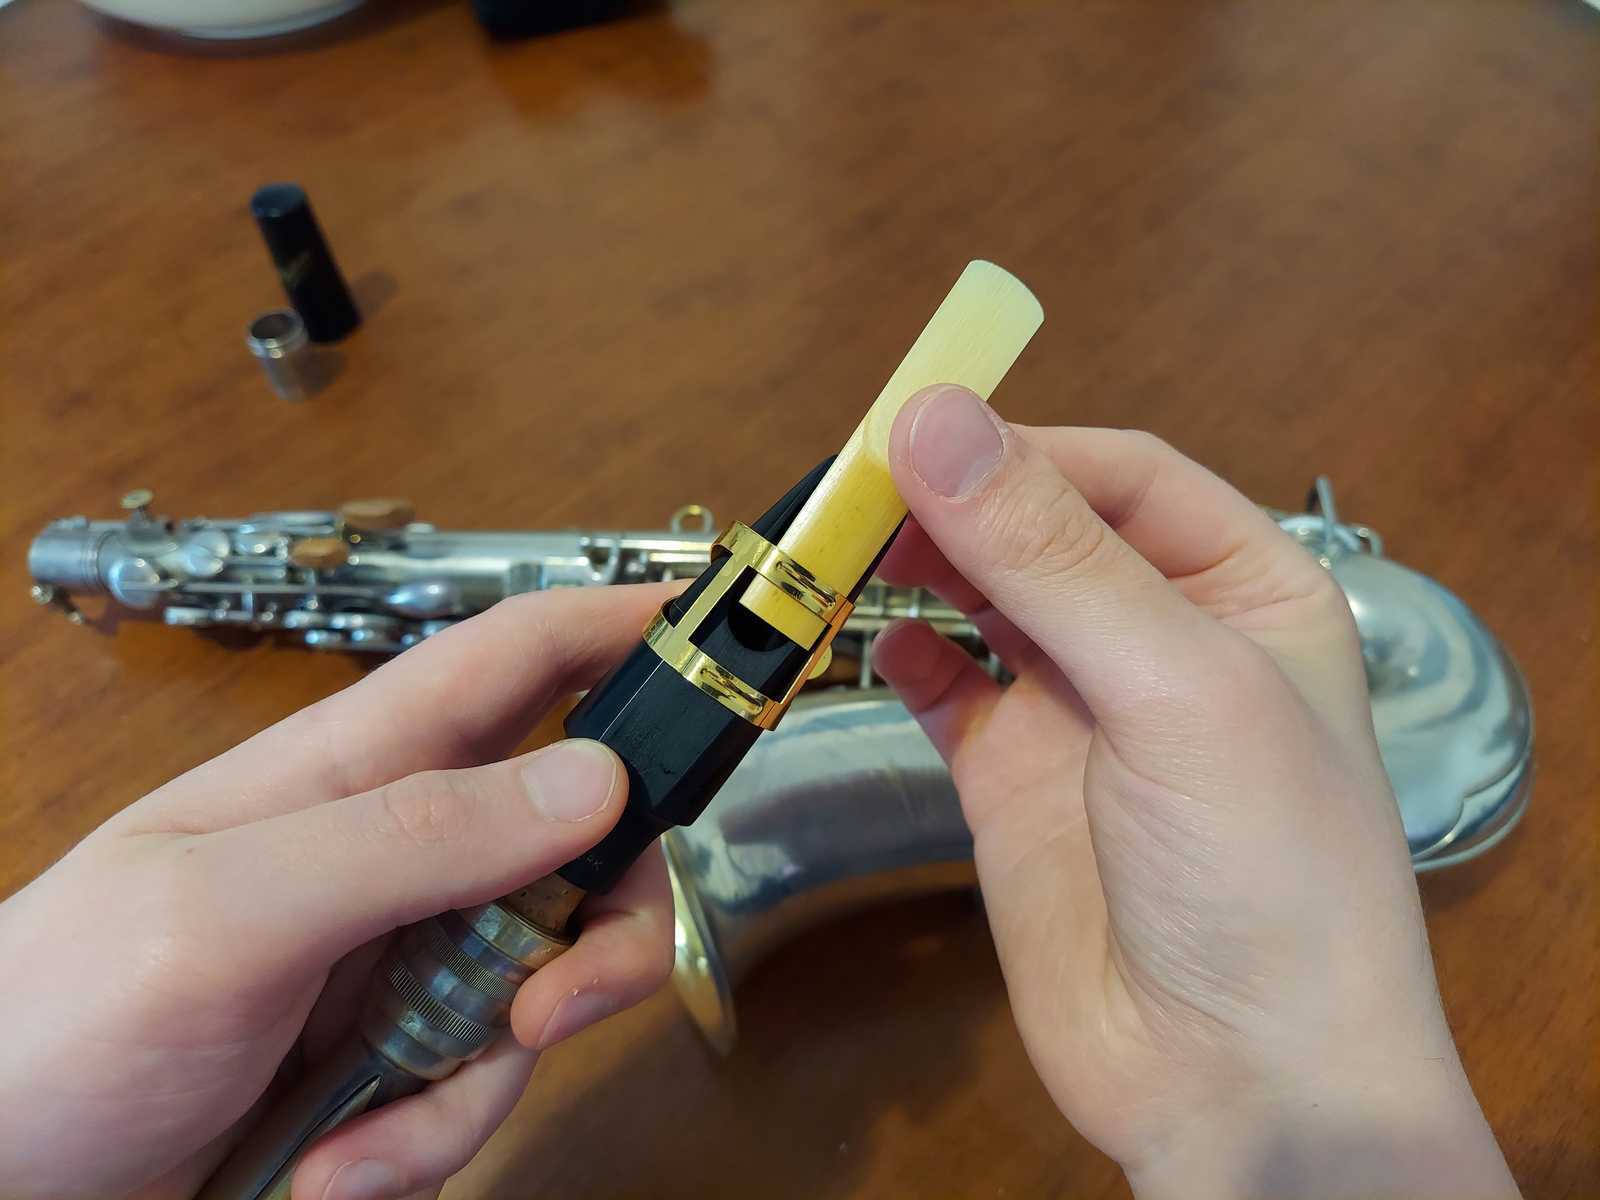
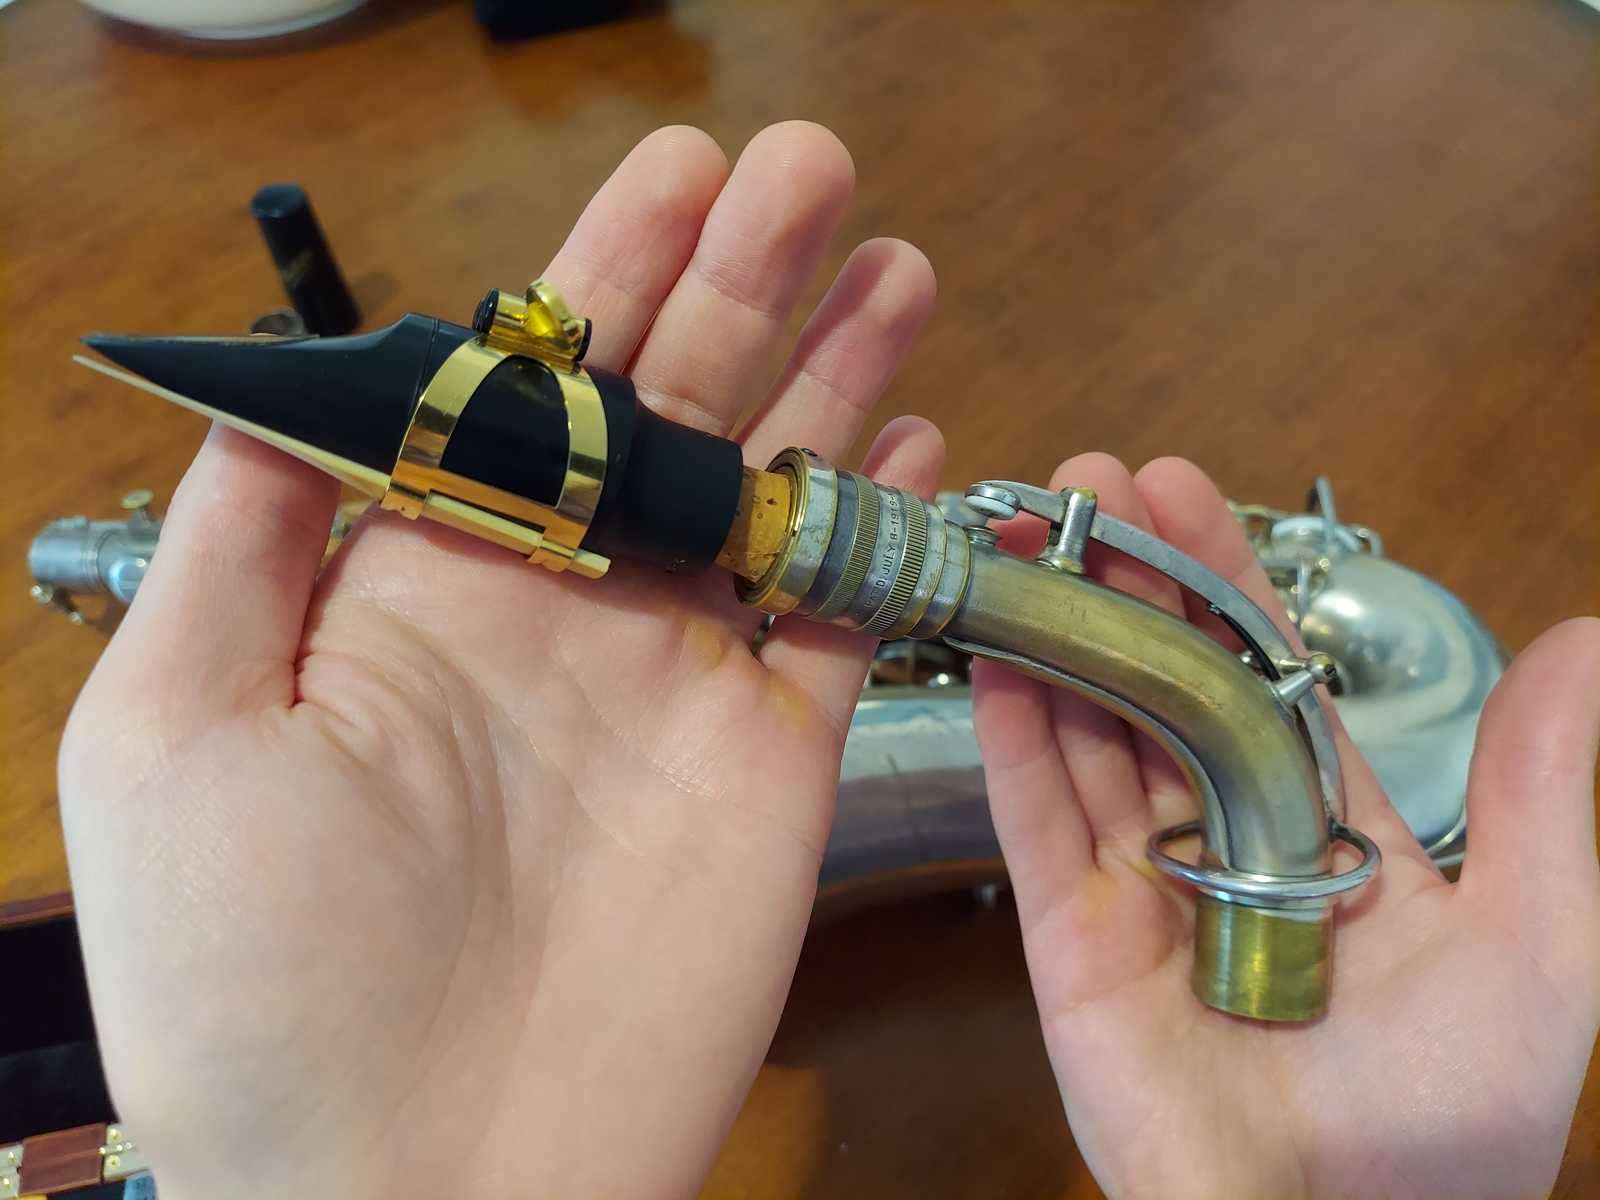
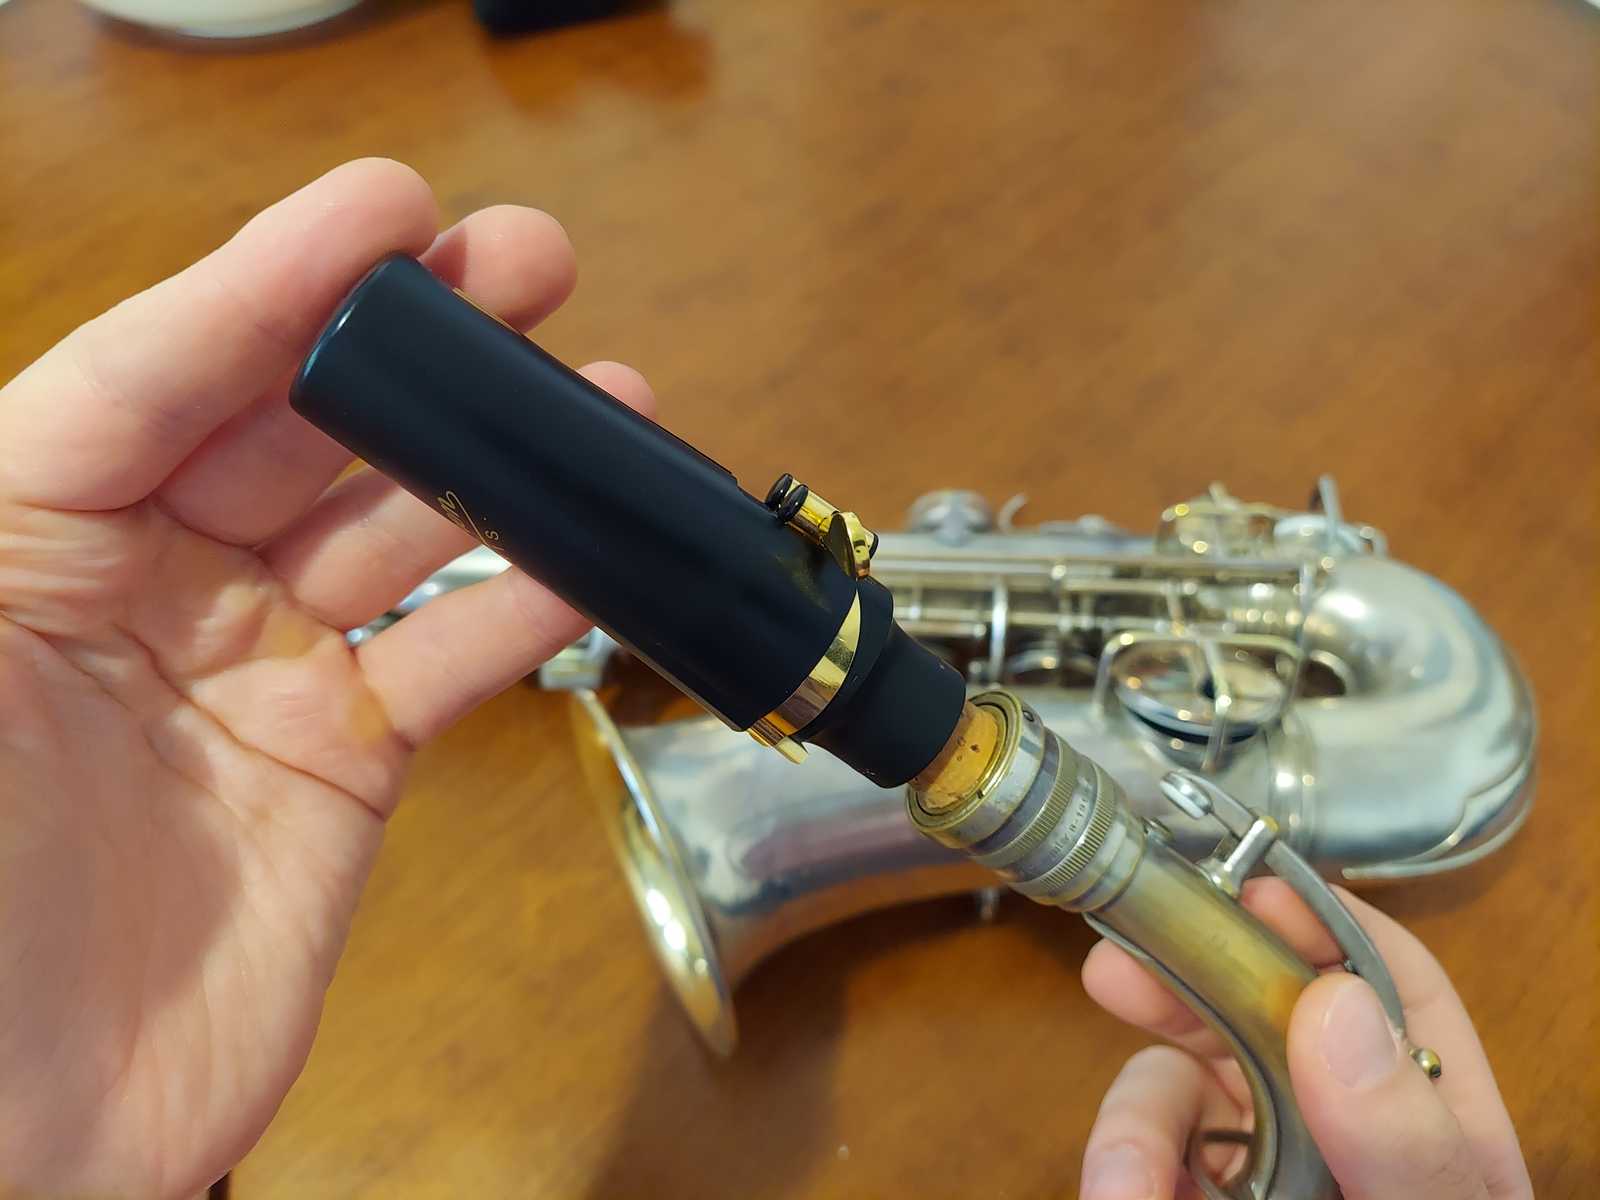
Handle the reed away from the tip. Next, wet both sides of the reed with saliva or water for a few seconds. Line up the flat side of the reed with the flat side of the mouthpiece. Next, slide the reed underneath the ligature. Line up the ligature just before the vamp begins, or the bamboo bark ends. Adjust screws so they are firm, but not tight - your reed needs to vibrate as freely as possible. Slide the mouthpiece cap on until it is time to play.
5. Remove accessories

Remove end plugs, corks, key props, pad savers, or any other accessories from the horn. Be aware that new saxophones sometimes have wooden wedges placed under the keys to protect them during shipping. Carefully examine any brand new instrument and remove and dispose of all of these, as depressing the keys with them installed will damage the instrument.
6. Attach the neck strap to the body
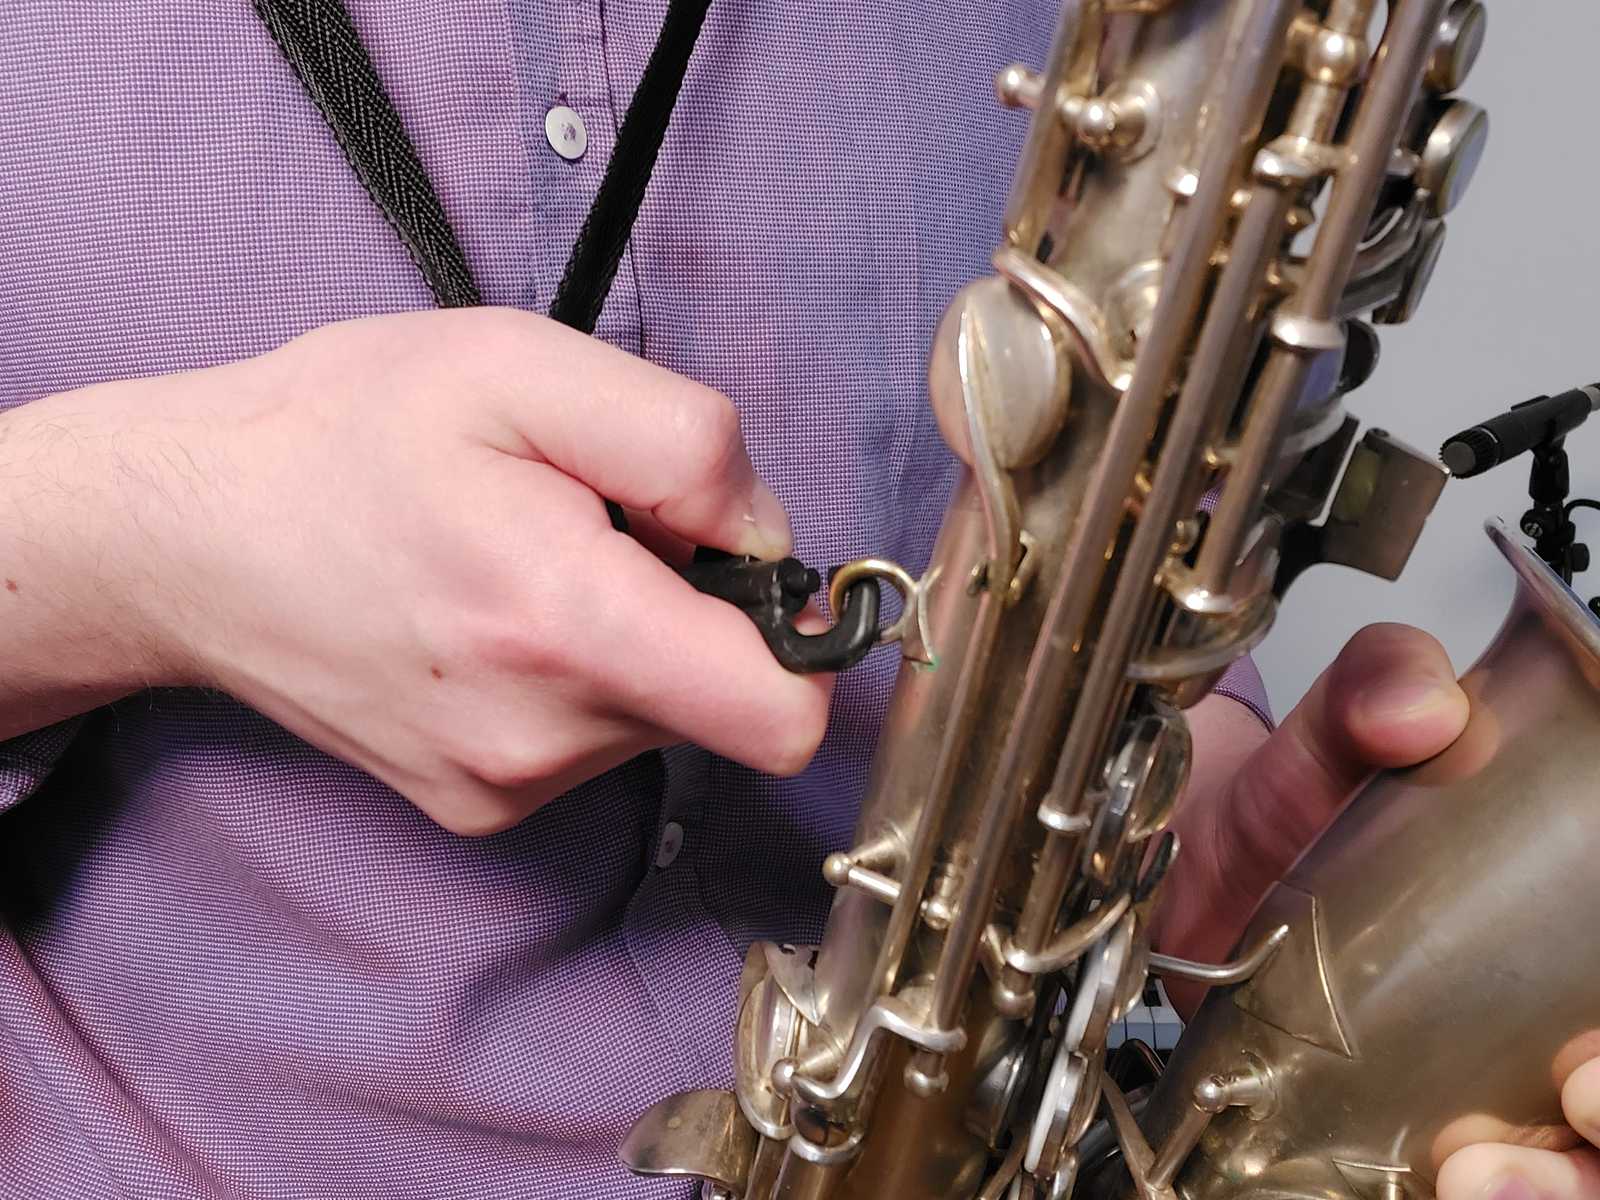
Clip the neck strap hook to the neck strap ring on the back of the saxophone. Make sure it's absolutely secure - you don't want to drop the horn!
7. Slot the neck in place


Line up the neck brace with the octave mechanism. You may deviate your sax neck and mouthpiece position later on. Tighten the neck screw so that the neck doesn’t rotate or fall off.
8. Adjust the neck strap or harness

Tighten the strap high enough so the mouthpiece doesn’t miss your mouth, or cause you to crane your neck to find it when you play.
Complete

Conclusion
Your saxophone is assembled, and you’re ready to play! Don’t forget to clean the horn when you are done!
Related

Daniel

Michael

