Ready, Set, Drum! – How To Set Up A Drum Set
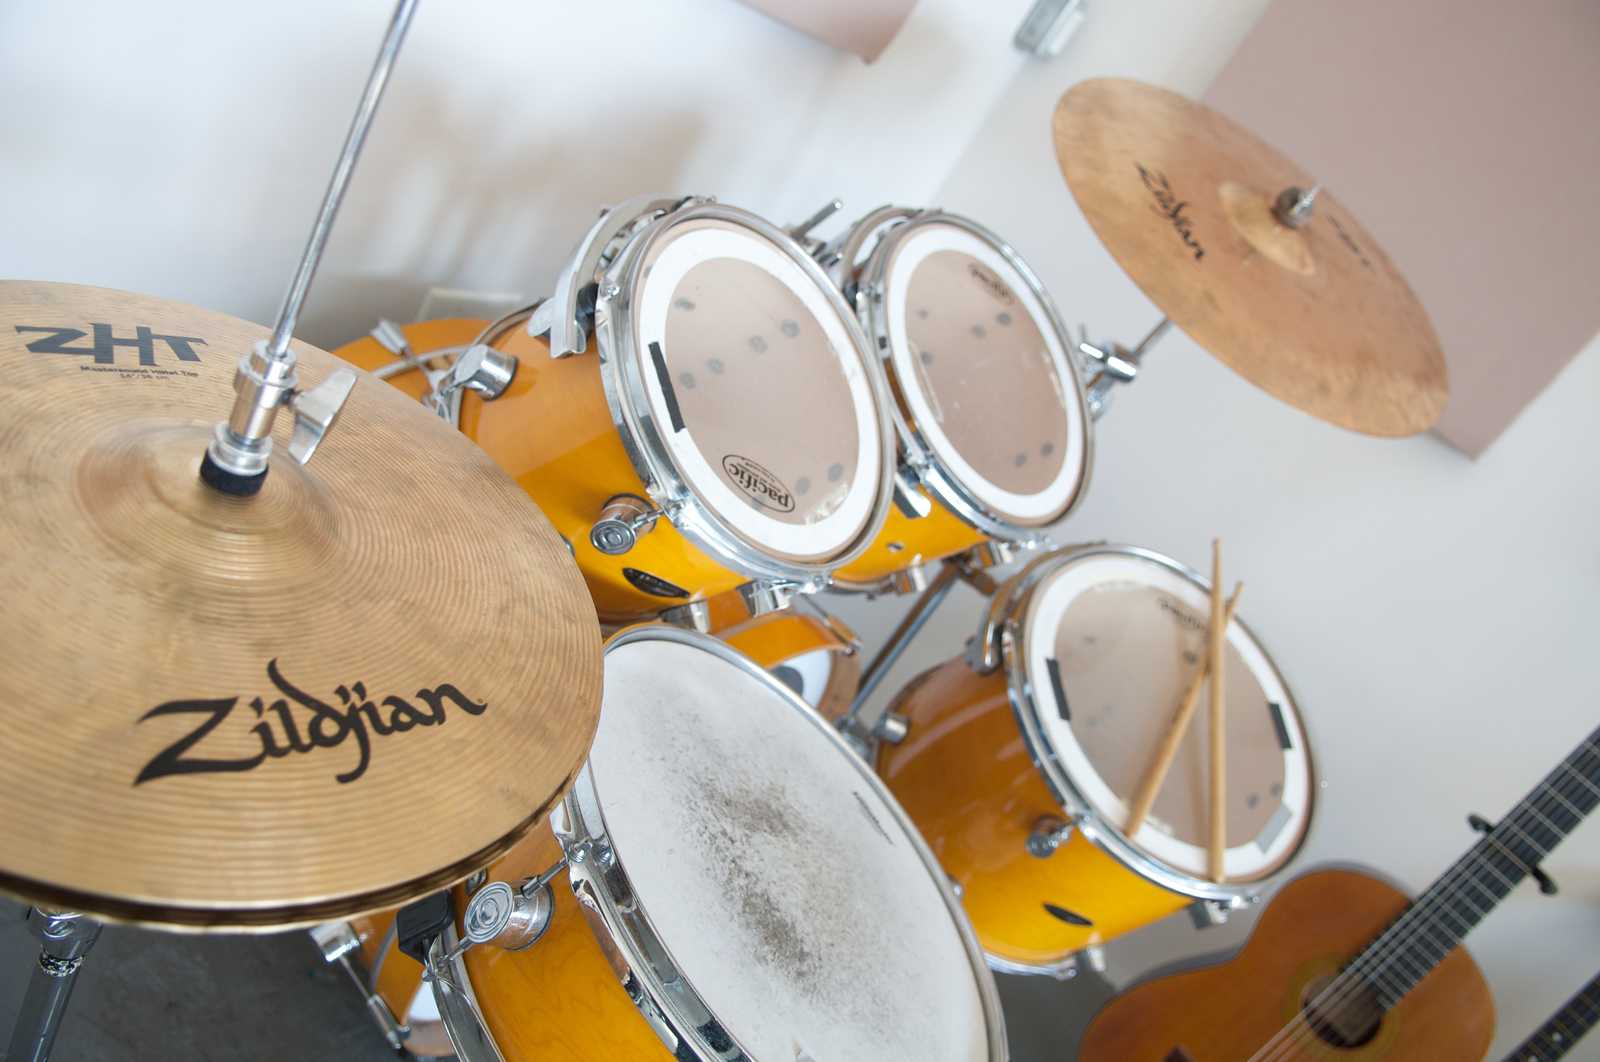

If you want to play the drum set, one of the first things you’ll need to learn is how to set up your drum set like a pro. When your drum set is set up well, you’ll feel comfortable and in control, and you’ll be in the best position to succeed and achieve your goals as a musician.
Your drum set needs to be in an ideal setup so that you can move easily and play without pain. When you’re playing easily, you’ll sound great. If the set isn’t positioned well, it could lead to strained muscles, back pain, and can make your movements feel awkward. This negatively affects your playing, makes for unnecessary challenges, and can interfere with your growth as a musician.
As you learn to set up your drum set, you’ll develop your own personal tastes for the exact positioning that works best for you as you practice. But first, you’ll need to start with the basics.
How to Set Up A Drum Set
As you learn to set up your drum set, you’ll develop your own personal tastes for the exact positioning that works best for you as you practice. But first, you’ll need to start with the basics.
1. Set up the Bass Drum and Pedal
The bass drum is largest, lowest pitched drum of the drum set. It sits on the floor, with the batter side (the side you hit) facing the drummer and the resonant side (the side you don’t hit) facing out. The resonant head often features artwork, logos, and insignias (like a band/brand name).
Try to use a carpeted surface, since placing your set on a carpeted surface prevents your drums from sliding around floor.
Adjust the spurs (bass drum legs), so that front hoop is lifted just off the ground. This position helps the sound to travel outward, and ensures the weight of the drum is resting on the spurs, not the hoop. If the hoop sits on the ground, it can affect the tension and tuning of the drum, and even warp the hoop over time.
Attach the foot pedal. Unlike the rest of the drum set, the bass drum is played with a beater attached to a foot pedal (not with your sticks/hands). Don’t tighten the pedal too much, as it can damage the wooden hoop (called “rash”). Some players put a piece of cloth/cardboard between the hoop and pedal.
Adjust the pedal and beater so that it strikes the center of the drum. Adjust the spring (optional) to manipulate pedal resistance. The tighter the spring, the faster the pedal returns to its rest position. For fast playing, you’ll need a quick rebound from the pedal. But, a pedal that’s too tight will be hard to play, especially for young players
2. Set your throne height
The throne height is key, since it affects the position of your whole body. Your throne should be high enough so that your thighs are at a slight downward angle. You should be easily able to reach the bass drum pedal.
You’ll also need to focus on good posture, which is essential to good playing. Your spine should be straight and your shoulders square as you face the drum set. Good posture matters, and it’s scientifically proven.
3. Set up the Snare Drum and Snare Stand
To set up your snare, adjust the height of the stand so that the top of your snare is about even with your waist. Your drum can be completely flat, tilted slightly toward you, or, if you are using traditional grip, tilted away from you. Flat or nearly flat is conventional.
To test your snare, you should be able to do a rim shot (hitting the drum head and rim simultaneously). If you’re frequently hitting the rim instead of the drum head, the snare is probably too high.
Once you have the height adjusted, tighten the basket so that it hugs the snare drum. Once tightened, you shouldn’t be able to lift the snare off of its stand. Be sure that you have the drum positioned so that the snare side is down. The snares (or strainer) create the sharp/crunchy sound of the snare drum and allow for rolls. They are a series of long metal wires that form a rectangle with two metal ends. The sticks do NOT play on this side of the drum.
Keep your snare switch accessible in a way that you can reach it. Left, right, center? It doesn’t matter and is up to your preference.
4. Set up the Toms
Your set will have either rack toms or floor toms. Rack toms are typically in front of the drummer, above the bass drum. They are attached to adjustable arms and are often higher in pitch than the floor tom.
Floor toms have legs and sit on the floor. Adjust the legs so that the height matches your snare drum. Floor toms are bigger and lower in pitch than rack toms. Some floor toms, though, also have mounts like rack toms. They work the same way, and the same standard can be used to set them up
Keep your toms within easy reach, meaning you can reach the center of the drum head (or center/bell of the cymbal) with your stick without extending your arm entirely. You should not have to lean from your hips (maintain good posture!); you should only reach with a bent elbow.
5. Put together your Hi Hat
To assemble your hi hat clutch assembly, place the top high hat in between the felts, then tighten the bottom screw all the way. The top screws allow you to adjust how tight or loose the hi hats sound.
Tight will result in a short, crisp sound (like ts, ts, ts)
Loose will be longer, “trashier” sound (like tisssss, tisssss)
Personally, I like them to have a little bit of give, not all the way tight
Next, position the hi hat’s height relative to your snare. There should be enough clearance to fit your left stick under your right stick. About 8” should be fine; most drum sticks are about 16” long, so by placing the stick upright on the snare drum head, you can adjust the hi hat so it is about halfway up the stick
6. Place your cymbals
To position your cymbals, start with your ride cymbal. It should be on your right side. It can be equal to the rack toms in terms of height, and should be to the right of the toms.
Your crash cymbal goes on the left side, and should be a solid 10-14” higher than your ride.
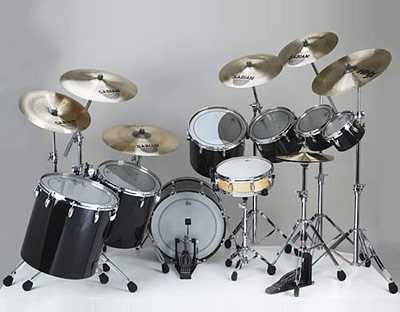
You can position other cymbals anywhere you want; just keep them within reach. The most basic setup includes the hi hat, ride, and crash.
Rock drummers may add more crash cymbals.
China cymbals are inverted and trashy sounding
Splash cymbals are small, high pitched, and used as short accents
Jazz drumming uses the cymbals a lot, but a jazz kit doesn’t necessarily have a lot of cymbals
There are conventions for where the cymbals go, but there’s also room for variety.
After the basic setup, here are all the ways that you can go….
Example Pictures/Videos of Famous Drummers’ Drum Sets
Art Blakey or Buddy Rich (Small, Jazz)
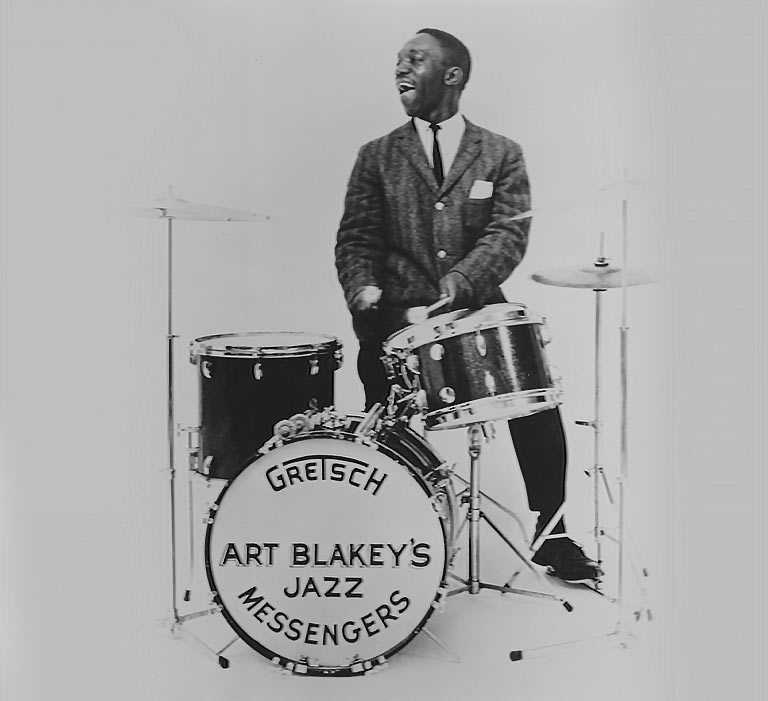
John Bonham (Heavy, Rock)
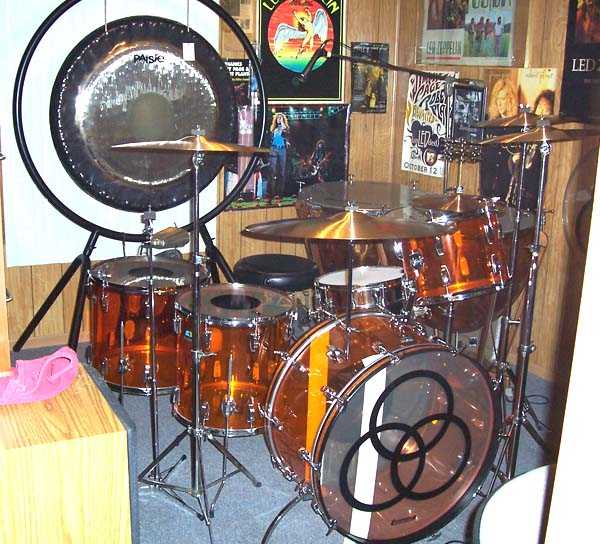
Nicko McBrain (Big, Metal)
WS “Fluke” Holland (Country) – sometimes just a snare!
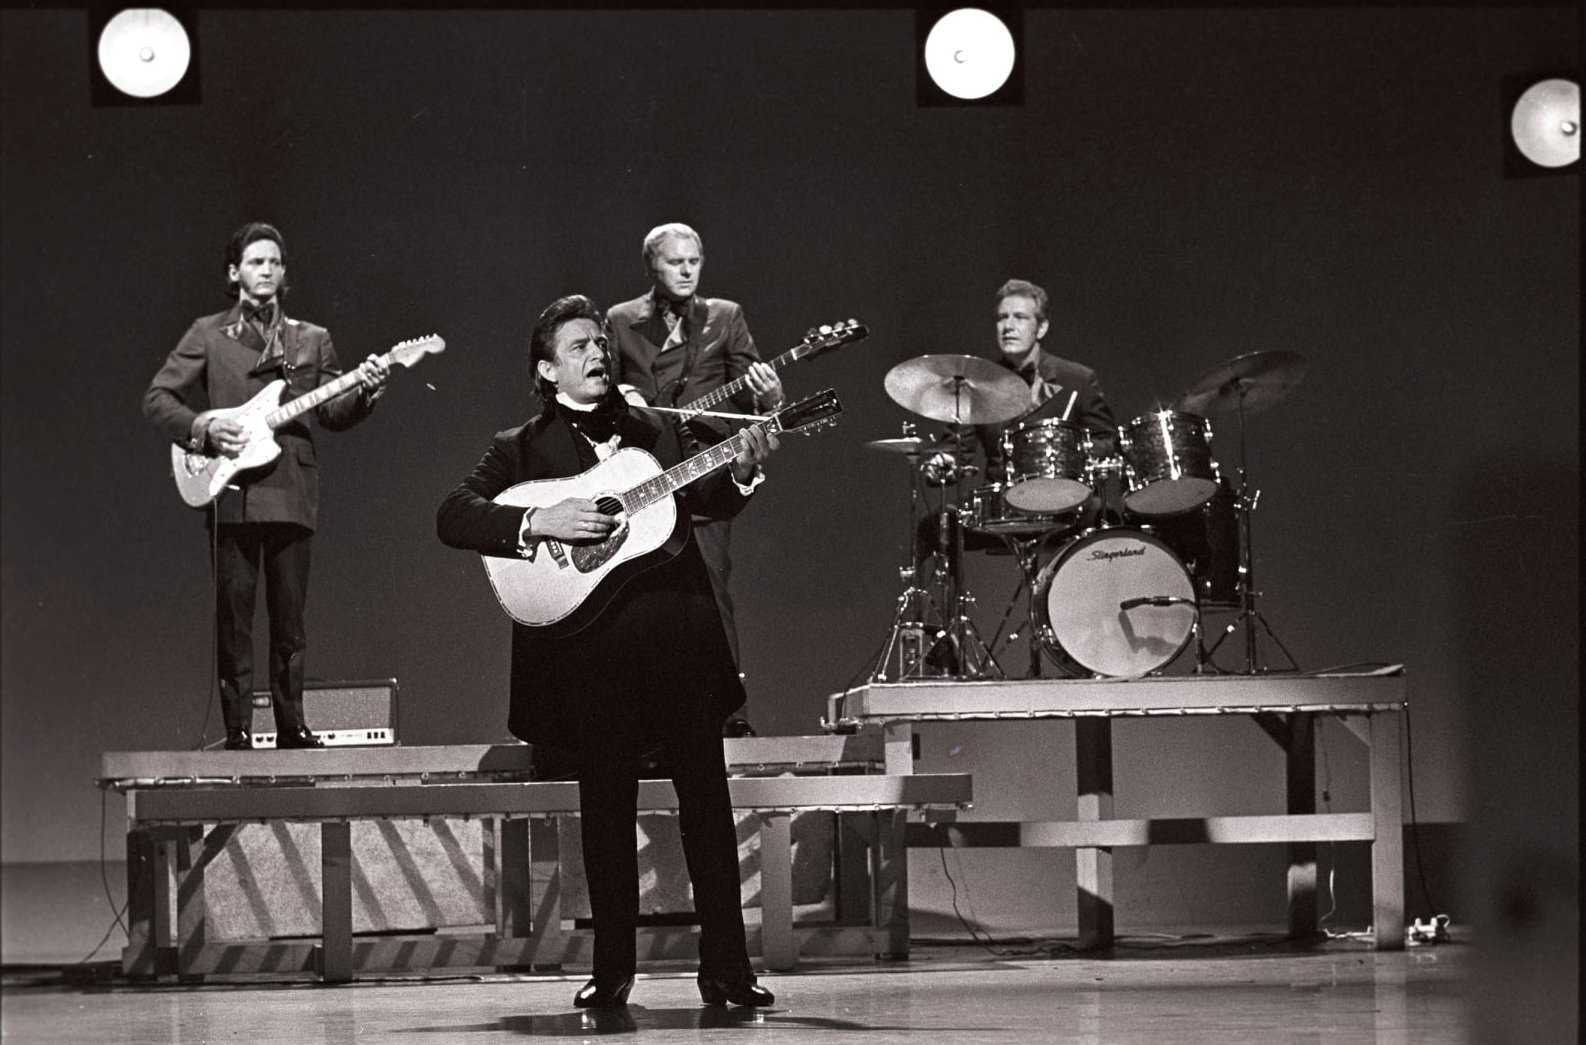
Phil Collins (Left Handed)
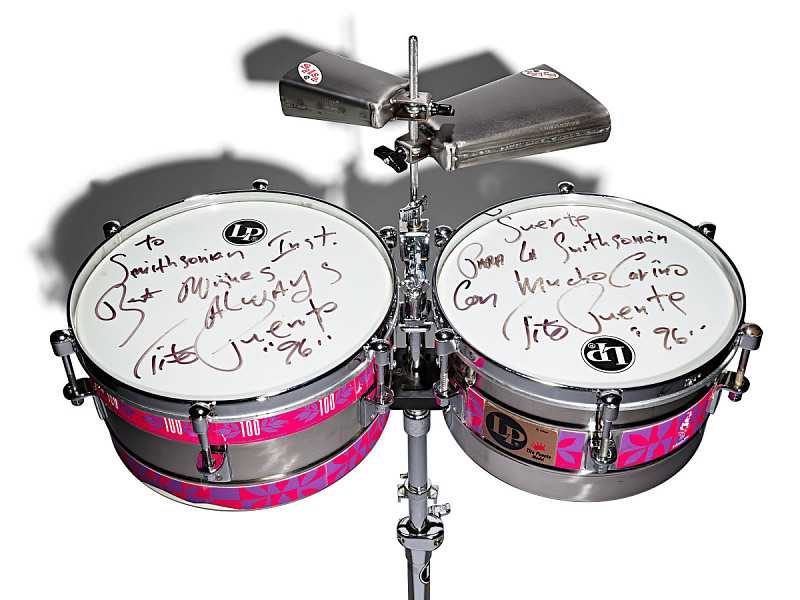
Tito Puente (Latin) – a totally different set of drums!
Conclusion
When setting up your set, your goal should be to feel confident and comfortable behind the set, be the best player you can be, and to avoid issues with poor posture, tension, and restricted movement. As you experiment with different setups, you’ll find your voice and aesthetic.
Influenced by: DRUM! Magazine Article about Drum Set Ergonomics
https://drummagazine.com/how-to-set-up-your-drum-kit-for-comfort-and-efficiency/
Related


Staff
